Improving UX in GIS Geoproject
22.08.2008 12:18 · GIS · geoproject, howto
GIS Geoproject is a very popular, convenient, and easy-to-use geographic information system. It is used by more than 350 organisations from different countries, and this number is still growing.
The reason for writing this post was the fact that many people use the system as it is after installation. There is nothing wrong with that — the default configuration of Geoproject is quite universal, and it can be used without changes to perform almost any task. It is possible to work this way, but in my opinion, it is not very comfortable. This post is dedicated to improving the user experience when working with GIS Geoproject.
Let me say right away that I work in Ukraine, and the main activity of our company is cadastre maintenance. So all the suggestions given below are based on that point; however, most of them are applicable to other conditions/types of work. All the tips mentioned here are based on my experience, tested in production, and proven to increase productivity. But I also do not say that this is the only truth, all suggestions are just my own view/opinion. And I do not claim that applying these tips in practice will allow you to feel the increase in speed and convenience of work in your case - in many ways, it is a matter of habit and personal preference. However, I hope that some of the tips will be useful to someone. The recommendations can be applied to a newly installed system as well as one that has been in use for a long time.
Before starting to customise GIS Geoproject, it is worth checking the operating system settings, namely the decimal separator. The point is that Geoproject may not work correctly if , (comma) is used as a separator. So, to avoid further problems and to avoid bothering the developers later, do the following: “Start → Settings → Control Panel → Regional and Language Options. In the window that appears, click on the “Customise” button and enter . (dot) in the “Decimal symbol” field, then click on “Apply”.

In general, you should check the decimal separator and correct it if necessary after:
- installing GIS Geoproject for the first time
- reinstalling Windows
That’s it! The system setup is done, let’s start setting up the Geoproject.
As a starting point, I would recommend making a few adjustments that will reduce the risk of data loss and speed things up a bit.
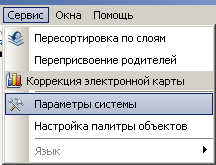
Start Geoproject and go to the “Service → System settings” menu.
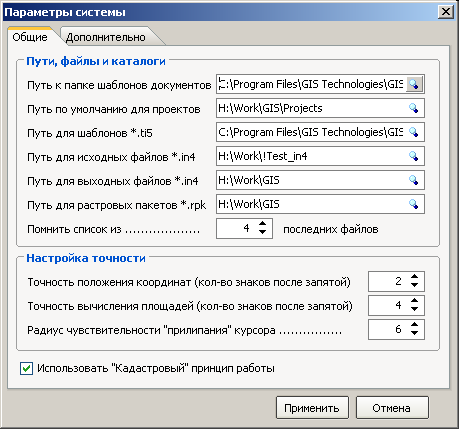
Here it makes sense to adjust the paths to project folders, folders containing input and output .in4 files, and raster packages. Strange as it may seem, many users do not change anything in these fields, and every time they need to open/save projects and/or load exchange files, they have to wade through the jungle of the directory tree.
In addition, I recommend moving the folders with document templates and import/export templates to a non-system partition — this will help you avoid data loss in case of a virus attack or system reinstallation, which is especially important if you are developing report templates. I think everyone would agree that it would be a shame to lose your super-fancy script and a bunch of templates just because you forgot to copy the Script and Reports folders in a hurry before installing the system.
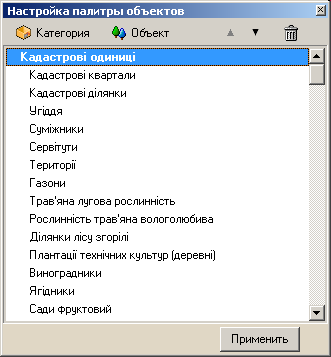
It is also worth having a look at the “Service → Customise object palette” menu. It is unlikely that you will need all the symbol groups shown here. The ones you do not need should probably be deleted. It is also a good idea to rearrange the symbols. For example, I put the most used symbols on the first tab and arrange them in the order they are used (quarter → plot → site → neighbour) or by frequency of use.
The next stop on the road to increased usability is the system script. This is where you can satisfy your desire for tuning! Rightly regarded as one of the most important parts of the program, the system script contains a huge number of settings and automation options. If you spend some time customising it, you will be able to do your work much faster.
Warning
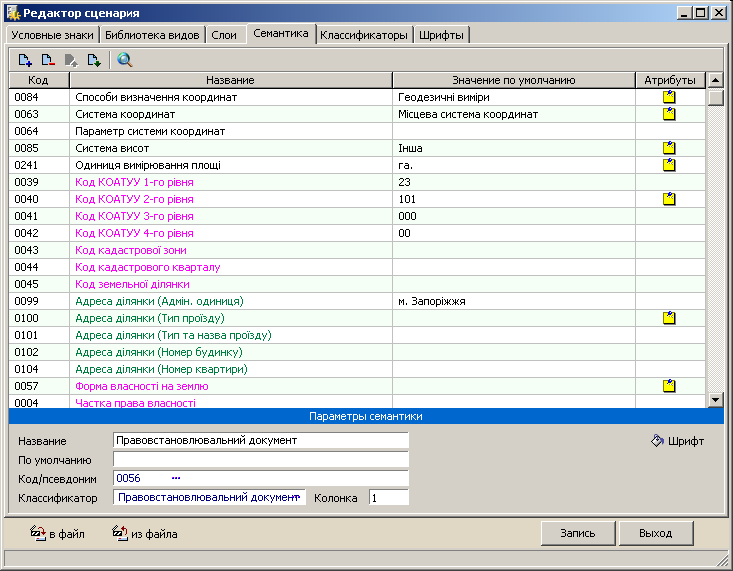
Careless modification of the system script can, in some cases, lead to unstable operation of the Geoproject. It is recommended to make a backup copy of the script before making any changes.First, go to the Classifiers tab and look through all the directories available. Wherever possible, delete unnecessary values and enter the ones you use yourself (this usually applies to almost all directories).
Go to the “Semantics” tab and look for lines that almost always contain the same value. Such strings can be “Executing Organisation”, COATUU codes of levels 1 to 4, heights and coordinate systems, and many others. Once you have identified such strings, set them to the appropriate default values — this will save you from having to enter the same data over and over again.
In addition, it is useful to analyse the rows presented in this tab to see if it is possible to create a directory for them. For example, if the monetary evaluation is carried out by a fixed number of performers, what prevents you from creating a classifier “Performers of monetary evaluation”, filling it with the necessary names, and associating it with the semantic “Monetary evaluation (performers)”? After all, it is much more convenient to select the desired performer from the list than to type their name on the keyboard. Moreover, this method prevents you from making mistakes, which are not uncommon when typing.
Semantic strings can be grouped (e.g. components of a cadastral number or a parcel address) and you can also set a font colour for them. This simplifies the work and makes it easier to find the required group of data. In GIS Geoproject up to version 5.23, the colour highlighting was also displayed in the “Detailed information about object” window (opened by clicking on the “Semantics” button in the main window).
The next stop is the Symbols tab. Look at the list and open the symbols for which you will be filling in the semantics. In the right part of the window, you will see the list of semantics of the selected object — check if there is anything unnecessary here. Delete any unnecessary semantics to free up screen space and reduce vertical scrolling. If necessary, add the missing semantics. I would then suggest that you group the semantics to make it easier to fill them with data.
Another little trick: groups that are rarely filled can be configured to appear in a “collapsed” (minimised) state, so that they don’t take up space on the screen. In some cases, this can eliminate vertical scrolling altogether, or at least minimise it considerably. To collapse a group (“section” in Geoproject terms), click on the small red arrow to the right of the group header, it (the arrow, not the group) will change direction (pointing downwards) and turn grey.
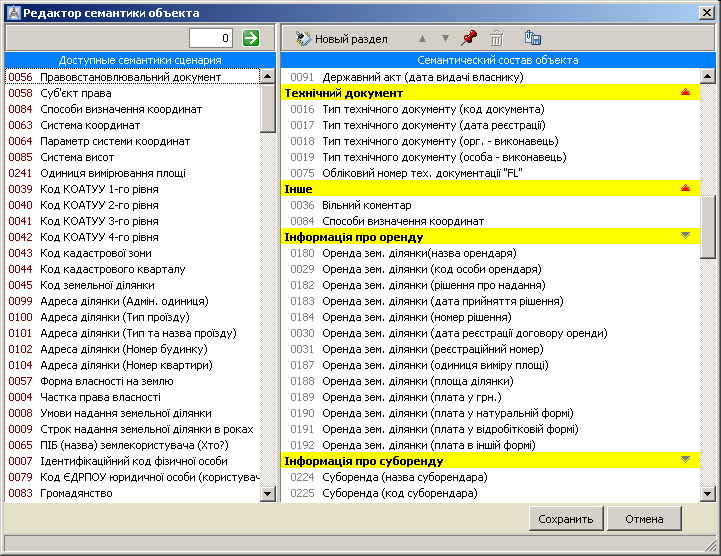
To make the group appear ’expanded’, click on this arrow again (it will turn red and point upwards).
Once you have everything in a convenient form, save the script by clicking on the “Write” button.
Let’s continue.
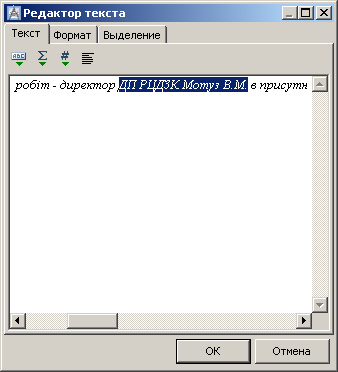
Another place we can improve is the export/import filter for .in4 exchange files. It is hidden in the menu “Project → Filter Editors → IN4 Filter Editor”. Open your own template or, more commonly, the default import template. In the “Format Structure” window, select “Service Information” and replace “Melitopolskyi RV ZRF CDZK” with the name of your office. If you want, you can also delete the line “File created…”.
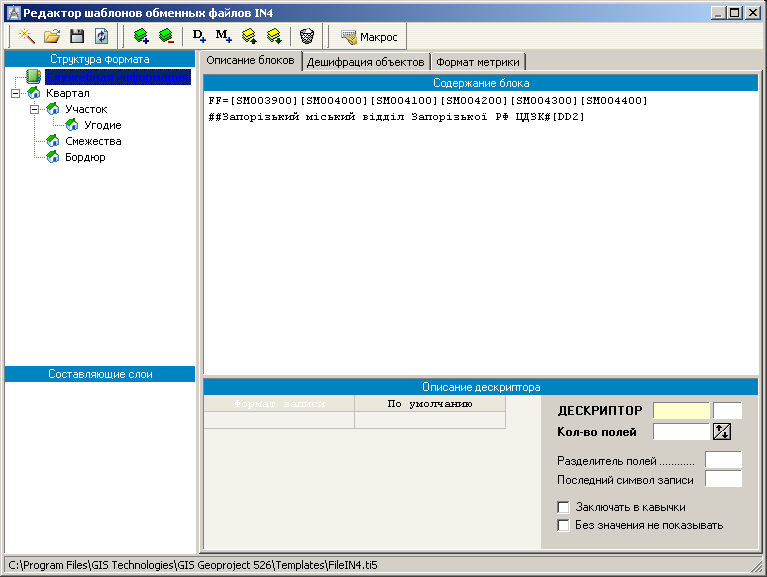
It’s not a bad idea to go through the remaining sections in the “Format Structure” window (quarter, plot, etc.) and look at the corresponding descriptors. For those that are usually empty, activate the “Do not display without value” checkbox. It is advisable to carry out this operation only if you have very good knowledge of the exchange file format or together with a person who knows it well; otherwise, you run the risk of breaking things, and instead of exchange files, Geoproject will produce a complete mess.
As a final touch, you can go to the “Metrics format” tab and remove from its (metrics) content values that have no real value (H coordinate of the vertex, various RMS).
When you’re done, don’t forget to save the template, preferably under a different name, so that you can always revert to the previous, working version.
I hope that after performing these rather simple actions, your work with GIS Geoproject will be more comfortable and the resulting exchange files will require minimal (if any) editing.
If your work with GIS Geoproject is limited to performing various geodetic calculations, creating maps, generating exchange files, etc., you can stop here. However, as a rule, Geoproject is widely used for the preparation of various documents containing cartographic and semantic information (cadastral plans, state acts, etc.).
Geoproject comes with a set of standard templates, which will be sufficient to get you started. You can also extend this set with your own templates and modify existing documents.
If you have already opened the Report Generator, you will have noticed that the templates contain details of different organisations. This is because, in addition to the developers, various survey organisations have been involved in the creation of the template set.
To save yourself from having to edit the generated document every time, it makes sense to modify templates. Don’t be intimidated by this procedure - it can be done even by a beginner. First, just in case, make a backup copy of the Reports folder in the Geoproject installation directory. Now open the Report Generator (“Project → Report Generator”).
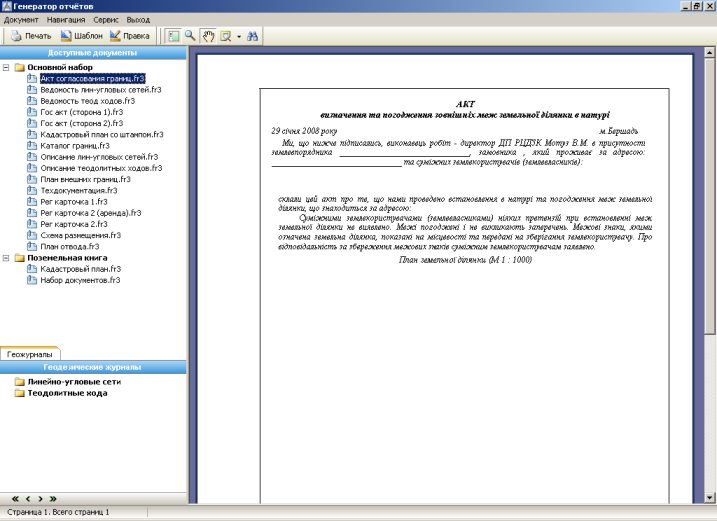
The left part of the window shows all the available templates and the right part is reserved for the preview area. Select the required document and click the “Template” button in the toolbar - the template will open in development mode. For now, you can ignore all the floating panels, and if they bother you, feel free to close them.
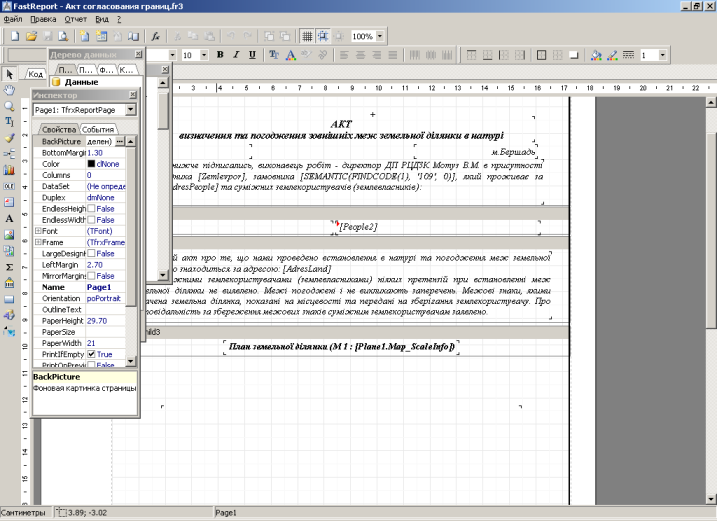
Templates can be quite complex and usually consist of many different objects (text blocks, graphic primitives, vector symbols, maps, etc.), but that is a topic for another post.
All we need to do now is find other people’s information in the text and replace it with our own. Once you have found the text fragment you want, double-click on it and the text will open in a separate window where you can edit it.
Once you have made your changes and saved the template, you can close the window and move on to the next document in the list.
That’s it, the initial setup is complete.